Last updated November 22, 2026
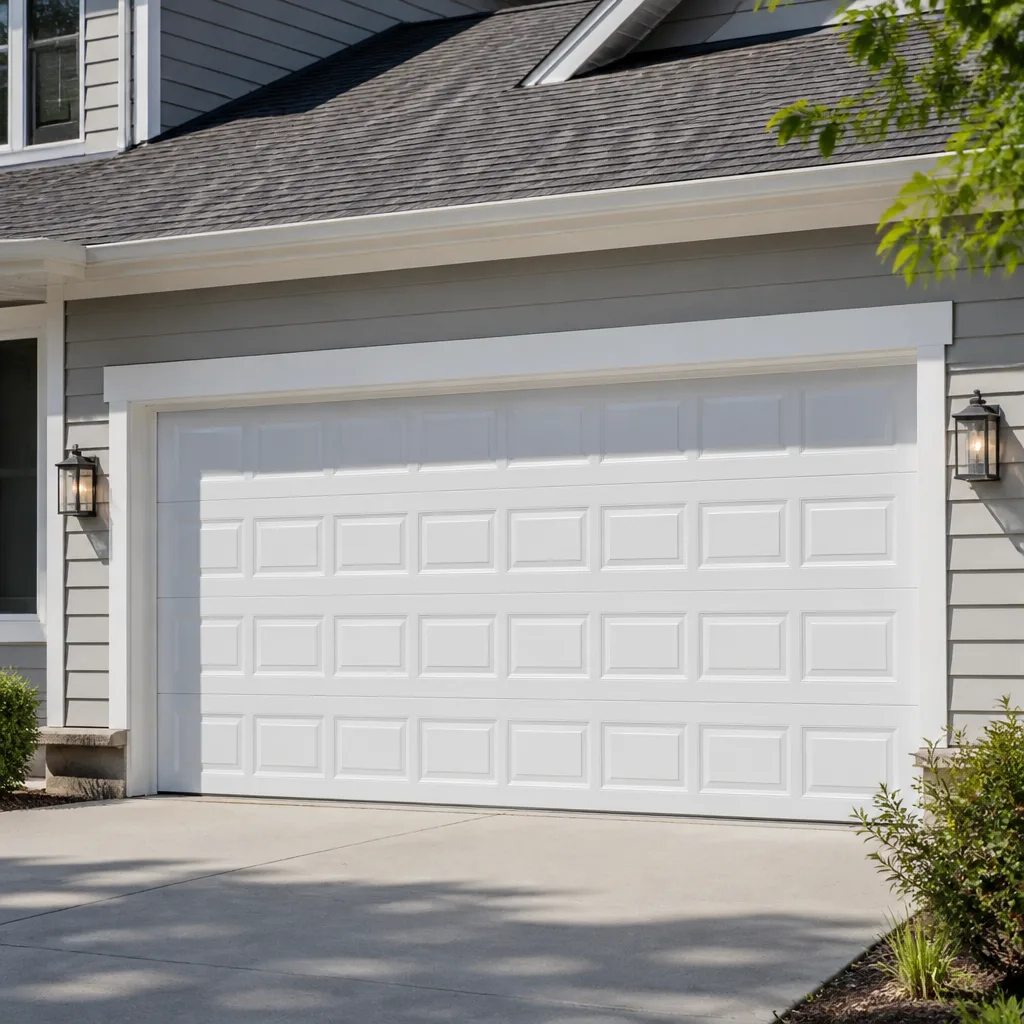 Raised-panel steel
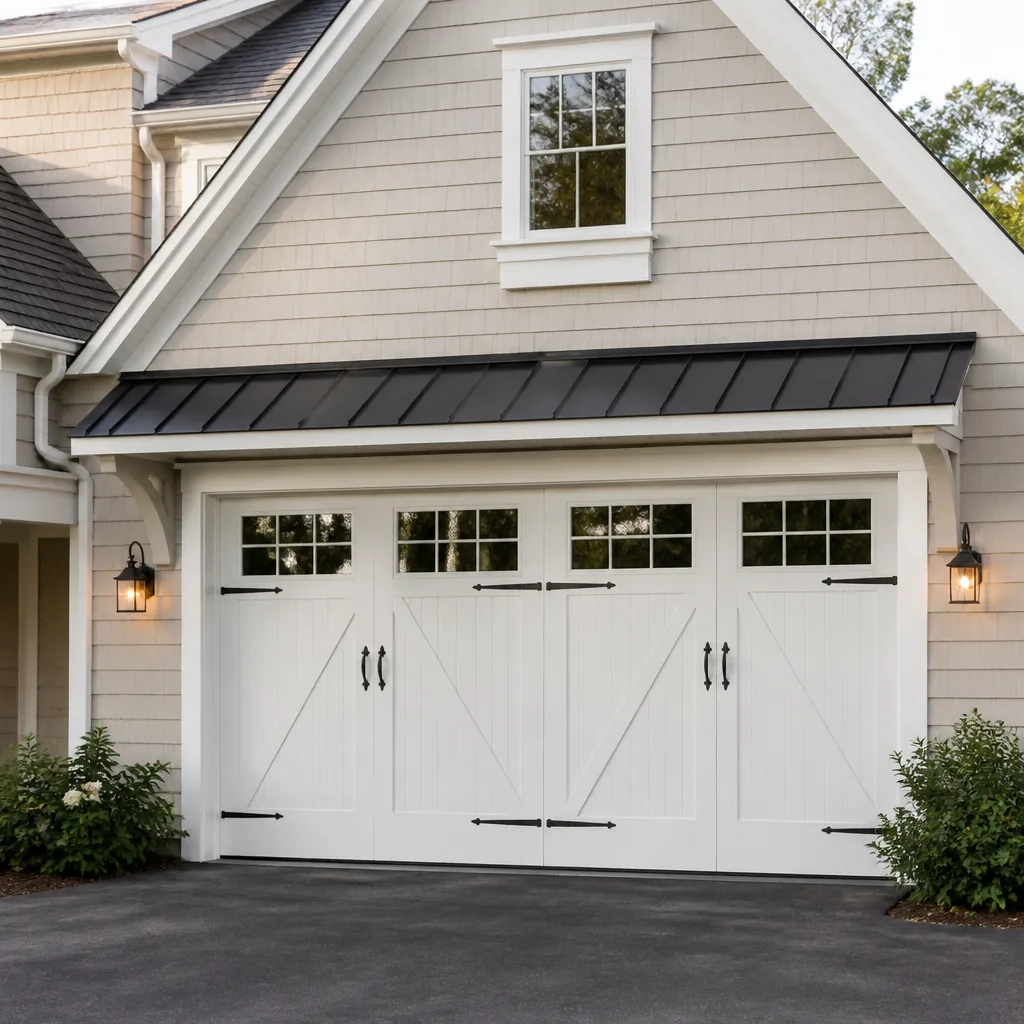 Carriage house
 Modern flush
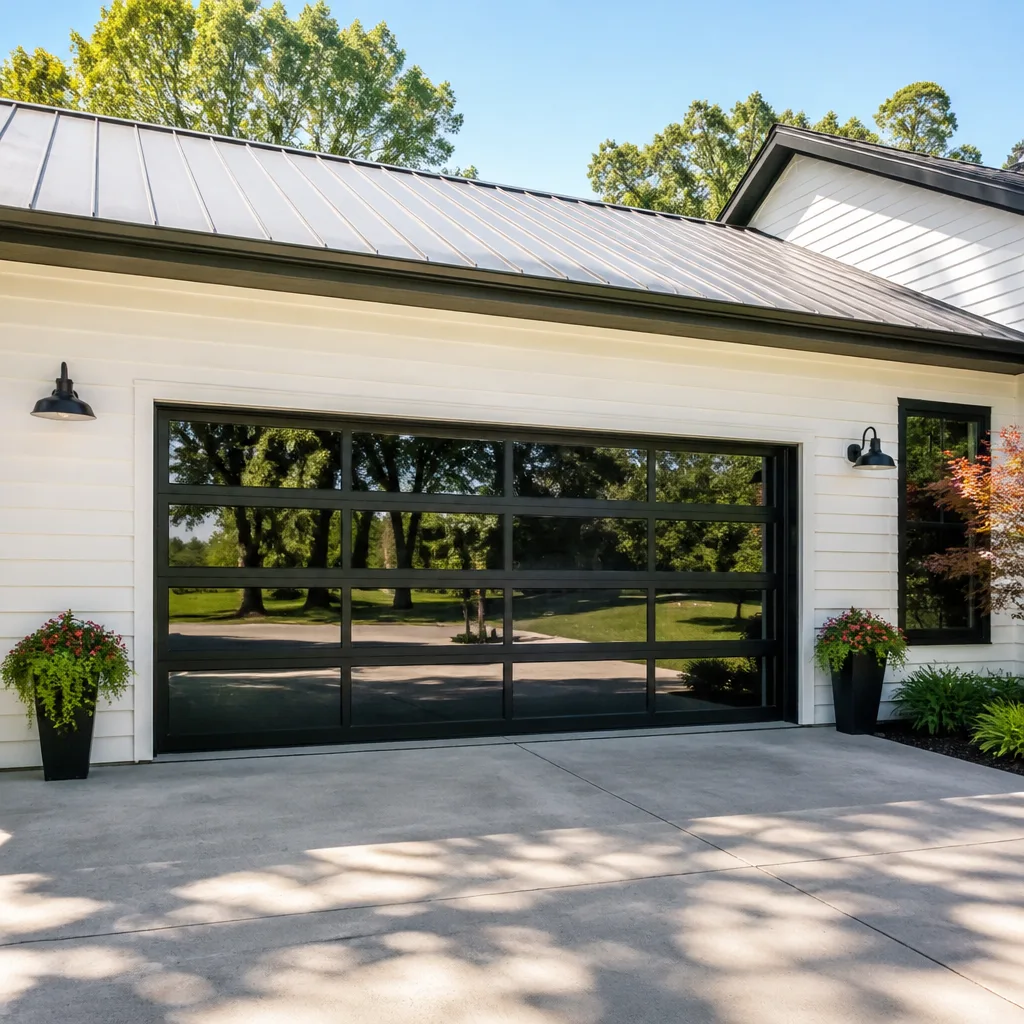 Full-view glass
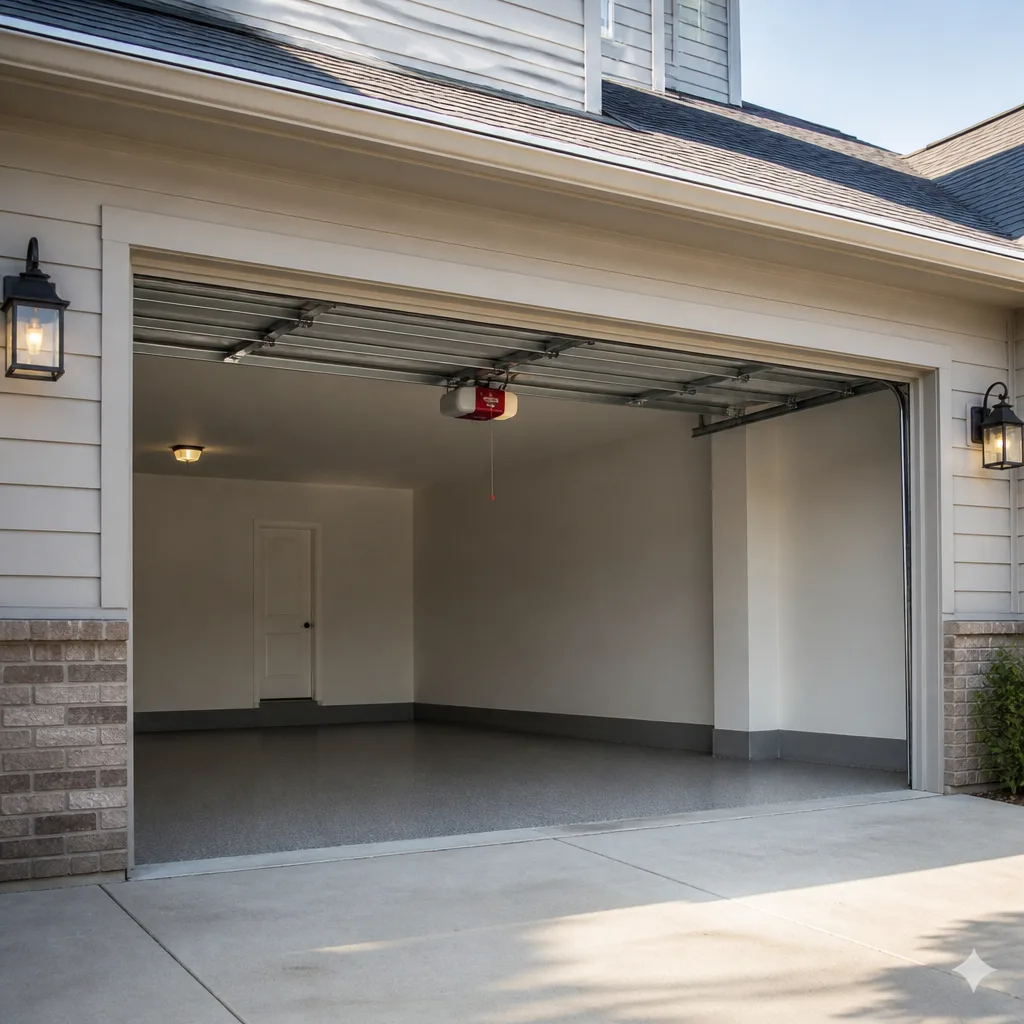 LiftMaster openers
 Chamberlain openers
Full 25-point door and opener safety check with every visit - springs, cables, rollers, tracks, and your LiftMaster or Chamberlain opener included
You get a price before we start. It does not change when the pro arrives.
Get your free estimateGarage Door Repair Maintenance Checklist for Centennial Homeowners
Most garage door maintenance checklists you’ll find online are generic ten-point lists that spend equal ink on cosmetic tasks and safety-critical ones. That’s a problem, because the failures we actually get called for in Centennial don’t fail at equal rates. They cluster around a handful of weak points that Colorado’s dry air, hard freeze cycles, and expansive clay soil punish more than anything else. Most of what you’ll read here is sequenced by how often a given part causes a real breakdown, not alphabetically. You’ll learn which checks matter in September, which ones protect you in January, when you can safely handle a task yourself, and when a trained technician should be the only one touching the door. The spring section in particular matters more than its position on any list suggests.
Quick Answer
A garage door maintenance checklist for Centennial should prioritize the parts that fail most in our climate: the bottom weatherstrip, the torsion spring system, lubricated moving parts rated for cold, track alignment affected by soil movement, and the opener’s safety reverse. Check the weatherstrip and seals in September before the first freeze, test the opener’s auto-reverse monthly, inspect springs visually but never touch them, and lubricate with a product rated for single-digit temperatures. Most of this takes an hour or less per season.
Styles & brands we work with
- Raised-panel steel
- Carriage house
- Modern flush
- Full-view glass
- LiftMaster openers
- Chamberlain openers
Table of Contents
- Why September Is the Real Deadline in Centennial
- Step 1: Inspect and Replace the Bottom Weatherstrip
- Step 2: Test Spring Tension Without Touching the Spring
- Step 3: Choose the Right Lubricant for Colorado Cold
- Step 4: Check Track Alignment Against Soil Movement
- Step 5: Test the Opener’s Force Limit and Auto-Reverse
- Step 6: Rollers, Hinges, and Cables
- A Seasonal Maintenance Schedule for Centennial
Why September Is the Real Deadline in Centennial
The number-one call we get after a Colorado cold snap isn’t a broken spring. It’s a door that won’t seal at the bottom because the weatherstrip hardened and cracked overnight. That rubber or vinyl seal is one of the first things to give out in the transition from warm, dry summer air to the first hard freeze, and homeowners almost always notice it after the damage is done. Catch it in September and it’s a simple, low-cost replacement. Miss it and you’re dealing with a door that won’t close fully, drafts into the garage, and in a bad cold stretch can freeze to the slab.
Centennial sits on the Front Range, which means a short fall window, low humidity most of the year, and freeze-thaw cycles that hit from October through April. That’s a different set of stressors than the coastal or deep-humidity climates most generic checklists are built around. The parts that fail here are the ones sensitive to cold and dry air: rubber seals, grease, and anything that depends on a constant coefficient of friction.
September is the practical month to run this checklist. The weather is still mild enough to work in the garage or on a ladder, replacement parts are readily available, and you have time to schedule a technician before the first freeze if something turns up. In our experience, homeowners in Centennial who run a fall inspection reliably avoid the January emergency calls that catch everyone else off guard. If you already know something on your door is off, it’s worth getting a professional eye on it during that window rather than waiting for the first cold morning where the door won’t move.
Step 1: Inspect and Replace the Bottom Weatherstrip
The bottom seal is the first thing on this list because it’s the highest-frequency failure in Centennial and the cheapest to fix. Run your hand along the underside of the door while it’s fully closed. Look for:
- Cracks, tears, or a brittle, hardened feel rather than a soft, springy one
- Flat spots where the seal has compressed and no longer touches the floor
- Daylight visible under the door at any point along its width
- Water or grit that gets through when you spray a hose along the base (do this on a dry, warm day)
Most modern doors use a slide-on or nail-on bottom seal, and replacement stock is easy to find for common brands like Clopay and Amarr doors. The task takes under an hour for a homeowner with a helper. The key is choosing a rubber or vinyl seal rated for cold flexibility. Cheap seals get hard below freezing and crack, and a seal that’s already brittle in September will be finished by December.
While you’re at it, check the side and top weatherstripping on the door jamb. If those are also hardened or gapping, address them in the same pass. A door that seals on all four sides keeps out cold air, snow, mice, and water, and in Centennial’s dry winter air it also cuts down on the dust and grit that gets into your opener’s track. Replacing weatherstrip is one of the fastest jobs in the entire maintenance rotation, and it’s the one that pays off most reliably every January.
Step 2: Test Spring Tension Without Touching the Spring
Springs are the highest-stakes repair on any garage door, and the most dangerous. A torsion spring under load stores enough energy to cause serious injury, and an extension spring that snaps can send hardware across the garage. The critical safety rule: you can test whether your springs are working; you cannot safely adjust or replace them yourself. This is the line most DIY checklists blur, and it’s the single most important distinction on this page.
Here’s how to check spring health safely, without touching the spring or its winding hardware:
- Disconnect the opener. Pull the red manual release handle so the door is on its own springs and tracks.
- Lift the door halfway by hand using the bottom handle or a safe grip on the bottom panel. It should lift smoothly with modest effort.
- Let go gently at the halfway point. A healthy door should hold its position or settle slightly. If it drops quickly or slams down, the spring tension is failing.
- Test the up direction too. If the door feels unusually heavy or you have to strain to lift it, the springs are doing less work than they should.
- Look at the spring visually from a safe distance. A visible gap in a torsion spring or a gap at the winding cone is a sign of failure. Do not poke, nudge, or try to wind anything.
If the door feels heavy, drops on its own, or you can see a gap in the spring, stop testing and get a technician out. Torsion and extension spring repair are core services we handle for Centennial homeowners, and they’re the repairs most general contractors won’t take on. If your door is from a brand like Wayne Dalton with its distinctive TorqueMaster spring system, tell the technician the brand when you call – spring geometry and replacement parts differ by system. If you’re hearing grinding, popping, or a loud bang from the spring area, that’s a stop-and-call moment rather than a “wait until September” one. Our garage door repair service covers spring failures and the door adjustments that follow.
Step 3: Choose the Right Lubricant for Colorado Cold
Lubricant choice is where most maintenance checklists fall apart in Centennial. Standard white lithium grease is the default recommendation on a lot of garage door sites, and it’s the wrong choice for our winter. White lithium grease thickens noticeably below about 10°F, and once it thickens it stops doing its job on hinges, rollers, and the torsion spring tube. On a cold Centennial morning, that means a door that lags, squeals, or strains your opener harder than it should.
What works better here:
- Silicone-based spray stays fluid at low temperatures and won’t gum up. Good for hinges, rollers, and the track.
- Low-temperature-rated white lithium is fine if it’s labeled for sub-zero use. Check the can, not the marketing name.
- Dedicated garage door lubricant made for cold climates is the simplest choice if you don’t want to compare specs.
- Avoid motor oil, WD-40 as a lubricant, and generic household greases. They attract dust and thicken in the cold.
Lubricate hinges, rollers, the torsion spring tube, and the bearing plates at the ends of the torsion bar, and run the door by hand a few times so the lubricant spreads. Do this once in September and again in late spring. Don’t lubricate the track surface itself – the wheels are meant to roll, not slide, and grease on the track attracts grit that wears out the rollers faster. If you’re not sure what’s on there now, ask a technician to check during a repair visit; we see plenty of Centennial doors where old lithium grease has turned into a sticky paste inside the hinges.
Step 4: Check Track Alignment Against Soil Movement
Centennial sits on a band of expansive clay soil that swells when wet and shrinks when it dries, and that movement translates directly into your garage slab and the vertical track brackets bolted to it. Over a couple of seasons, one side of the track can shift a fraction of an inch out of parallel with the other, and the door starts dragging, popping, or rubbing on one side. This is one of the most common recurring issues we see on doors that have been installed for a few years.
Here’s what to check:
- Look at the gap between the door and each vertical track while the door is closed. The gap should be even on both sides.
- Watch the door as it opens. If one side travels ahead of the other, or the door visibly racks, the tracks are out of alignment.
- Look for loose lag bolts attaching the track brackets to the jamb or floor. If you can wiggle a bracket by hand, it’s loose.
- Check for scraping marks on the track edges or the door’s rollers – a clear sign of misalignment.
- Confirm the tracks are plumb with a level if you have one. A track that leans out at the top will pull the door sideways.
Minor adjustments are possible with a wrench and a level, but if the track is significantly out of plumb or the brackets have moved with the slab, a technician should reset it. Tightening the wrong bolt on a misaligned track can make it worse, and a door that’s tracking badly can fall. If the concrete around the track anchors is cracked or crumbling, that’s a structural issue worth a professional assessment. The good news is that once the tracks are right, they usually stay right for a long stretch – Centennial’s soil movement is seasonal, so a September alignment check catches issues before the wet season. You can read more about what a professional adjustment involves on our garage door repair service page, or explore the full range of work we handle on the Centennial Garage Door Repair Pros main site.
Step 5: Test the Opener’s Force Limit and Auto-Reverse
The auto-reverse test is the single safety check most homeowners skip entirely, and it’s the one that matters most if a child, pet, or object is ever caught under a closing door. Every opener installed in the US has a safety reverse system, and it needs testing monthly. Here’s the exact sequence for the two most common brands in Centennial garages.
Testing auto-reverse on LiftMaster and Chamberlain openers
- Open the door fully, then close it and watch it descend. It should reverse automatically when it contacts an obstruction at least a couple of inches tall.
- Place a 2×4 flat on the floor centered under the door. Close the door with the remote. When it hits the wood, the door should reverse and go back up. If it stops and stays down, the safety system is failing – stop using the door until it’s fixed.
- Test the photo-eye safety sensors at the bottom of each track. Wave a hand or a broom handle in front of one while the door is closing. The door should reverse immediately.
- Check the sensor alignment lights. On LiftMaster and Chamberlain units, both sensor LEDs should be solid (not blinking). A blinking light means the sensors are misaligned or blocked.
Force limit adjustment
The force limit determines how hard the opener pushes before it gives up and reverses. If it’s set too high, the door won’t reverse on an obstruction. If it’s set too low, the door will reverse on its own for no reason. On LiftMaster and Chamberlain units, the force adjustment is usually a pair of screws or dials under the light lens or on the back panel, marked “up force” and “down force.” Nudge them only a quarter turn at a time and retest with the 2×4 after each adjustment. If the door needs significant force adjustment to close, the real problem is usually mechanical – a binding track, a failing spring, or worn rollers – not the opener setting.
This is the check to run first if your door reverses at random, stops halfway, or won’t close on a cold morning. We handle garage door opener repair for LiftMaster, Chamberlain, Genie, and Craftsman units, and a trained technician can usually tell the difference between an opener problem and a door problem in a few minutes. If your opener is more than about a decade old and failing these tests, it may be time to consider new equipment; our garage door installation page explains what that involves and how to plan for it.
Step 6: Rollers, Hinges, and Cables
Rollers and hinges are the moving parts that quietly wear out between spring failures. Nylon rollers last longer and run quieter than steel ones, but both eventually develop flat spots, and a worn roller drags on the track, strains the opener, and can make the door jump. Check each roller by rolling it by hand – if it doesn’t turn smoothly or has visible flats, it needs replacing. Hinges at the panel joints accumulate grit and dry out, so they get the same lubricant treatment as the rest of the moving parts.
Cables deserve a separate caution. The cables that run along each side of the door are under high tension and are part of the same system that can injure someone if handled wrong. You can inspect cables visually from a safe distance – they should be taut, with no fraying, kinks, or rust – but you shouldn’t touch, adjust, or attempt to replace them. A frayed cable is a stop-using-the-door situation, because a snapped cable can whip and drop the door. In Centennial’s dry air, cables are less prone to rust than in humid climates, but they’re still exposed to grit and thermal cycling. If a cable looks questionable, call us. This is one of the repairs where the difference between a fixed door and a dangerous one is who does the work.
A Seasonal Maintenance Schedule for Centennial
Here’s how the six steps above fit into a year. The schedule isn’t arbitrary – it’s built around when Centennial’s climate makes each task most useful.
- September (pre-winter): Replace or inspect weatherstrip and bottom seal. Lubricate hinges, rollers, and spring tube with a cold-rated product. Test springs by hand. Check track alignment after summer soil movement.
- November (first cold snap): Retest auto-reverse and force limit – cold makes marginal settings fail. Listen for new squeals or grinding.
- March (spring thaw): Recheck track alignment, since freeze-thaw and soil movement reset during the thaw. Lubricate again lightly.
- June (pre-summer): Inspect rollers and hinges for wear. Look for any weatherstrip cracking from winter. Test all safety features.
- Monthly, all year: Test auto-reverse with the 2×4. Test photo-eye sensors. Check for unusual noises.
This schedule covers the routine. The moment something is audibly wrong – popping, grinding, a door that drops, a door that won’t open – stop the schedule and call a technician. Preventive maintenance gets you a long way, but it doesn’t replace a proper repair when a part has actually failed. A door that’s a Clopay or Amarr model from the last decade is built to last a long stretch with this kind of care, and getting the routine right is the difference between a 15-minute repair in September and a full spring replacement in January.
Common Mistakes to Avoid
- Trying to wind or adjust the springs yourself. This is the most dangerous mistake on the list. Torsion springs store lethal force, and there is no safe way to adjust them without the right training and tooling. Call a technician.
- Using regular white lithium grease below freezing. It thickens and stops lubricating right when Centennial’s cold mornings make lubrication matter most. Use a cold-rated product.
- Skipping the September weatherstrip check. A seal that looks fine in August can harden and crack with the first freeze. Replace brittle seals before the cold, not after.
- Greasing the track surface. Grease attracts grit, which gums up the rollers and makes the whole door drag. Keep lubricant on the moving parts, not the track.
- Failing to test auto-reverse. Every opener has it, most homeowners never test it, and it’s the single safety feature that protects anyone under the door. Test it monthly with a 2×4.
- Ignoring a track that’s shifted after wet weather. Centennial’s expansive clay soil moves the slab, and a track that’s out of plumb can drop the door. Recheck alignment every spring.
- Assuming a noisy door just needs more use. Grinding, popping, or a loud bang usually means a part is failing. Treat it as a repair call, not an oiling problem.
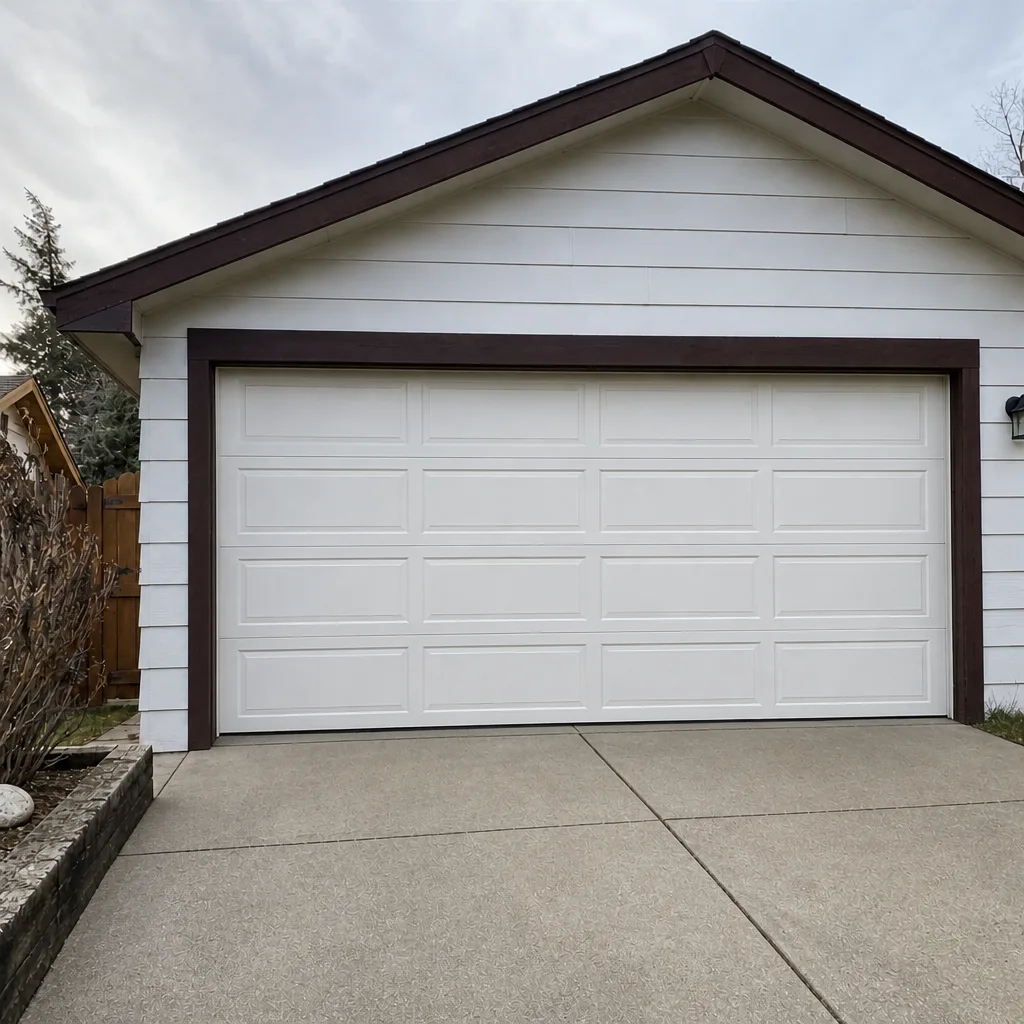
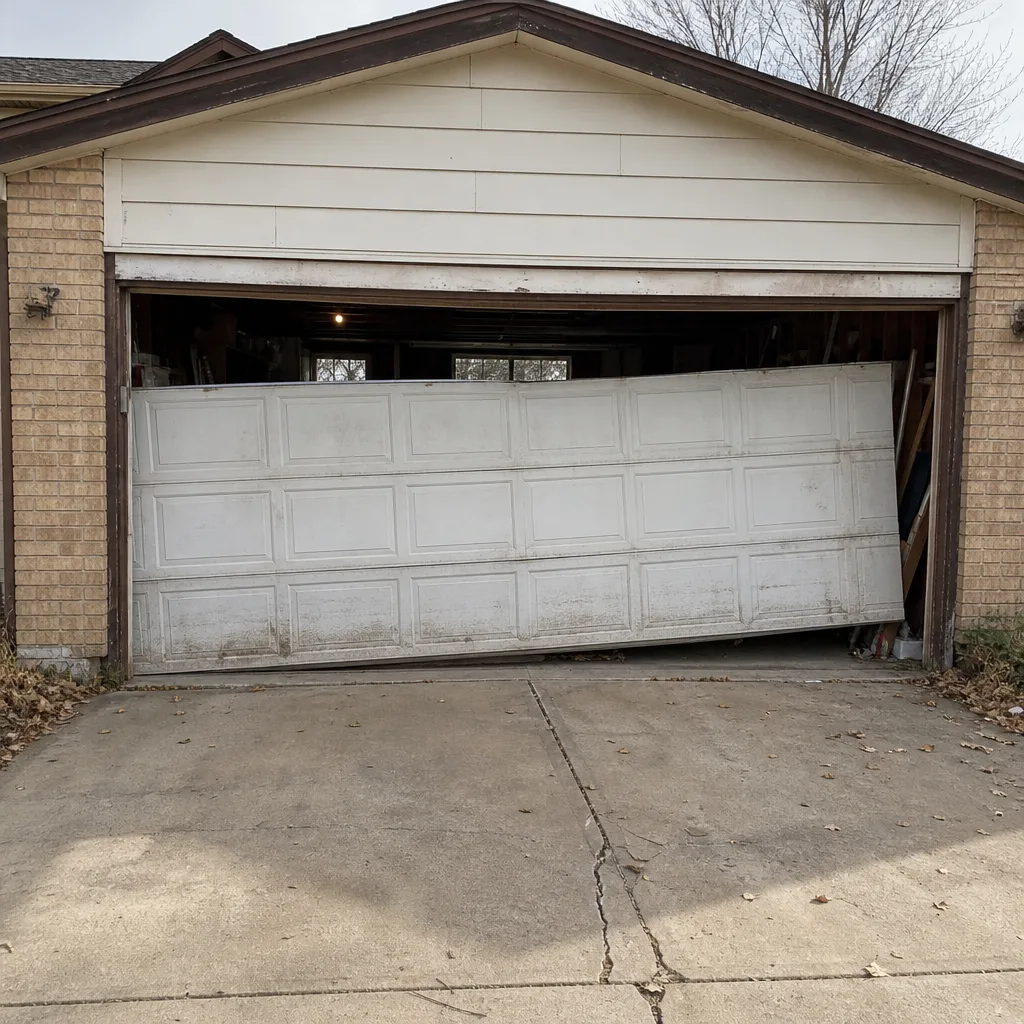
See the difference
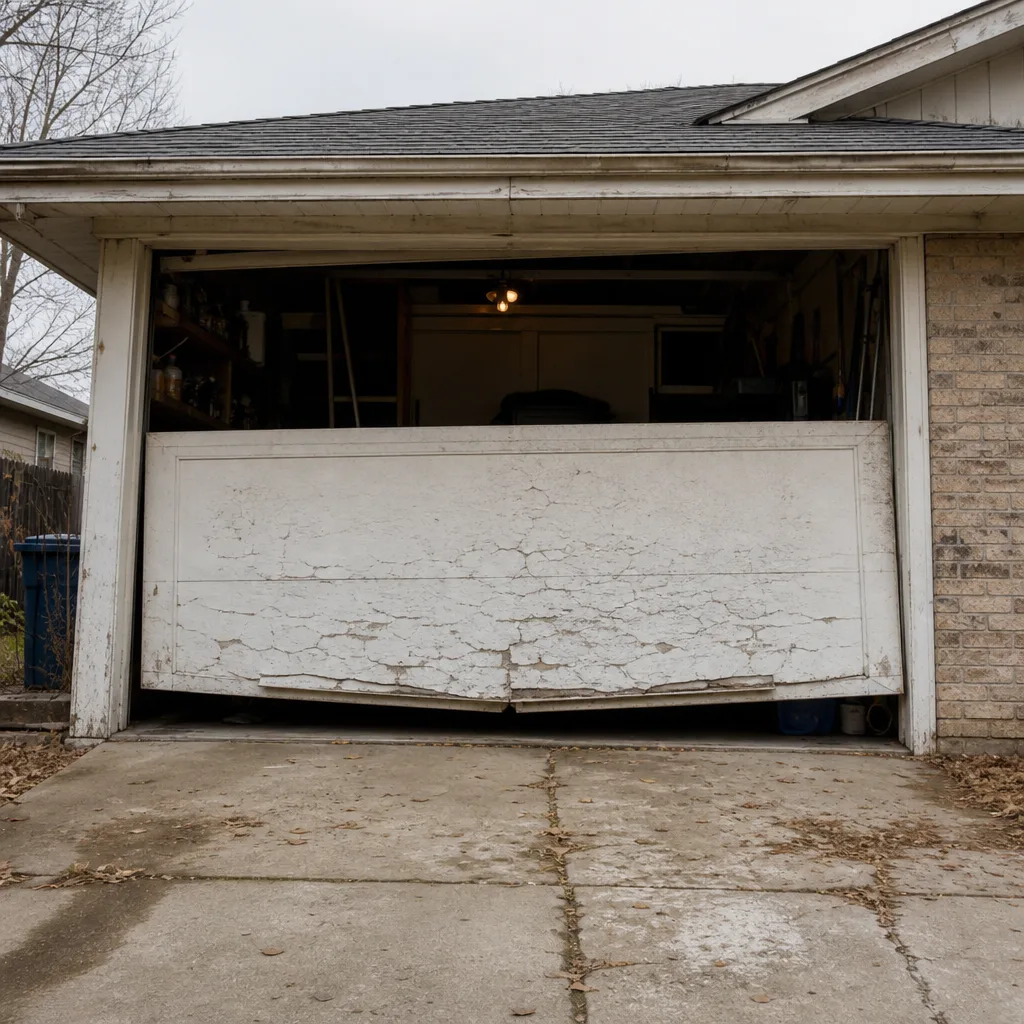 Before
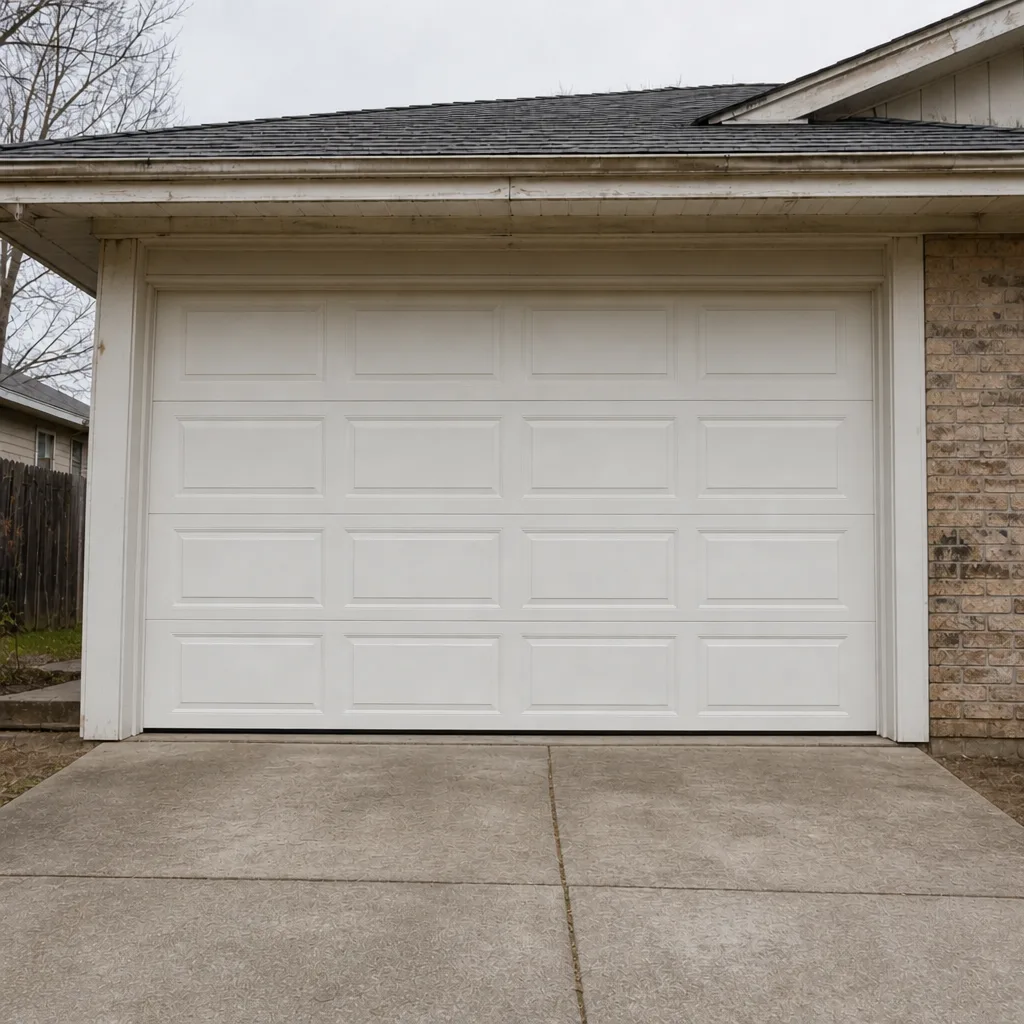 After
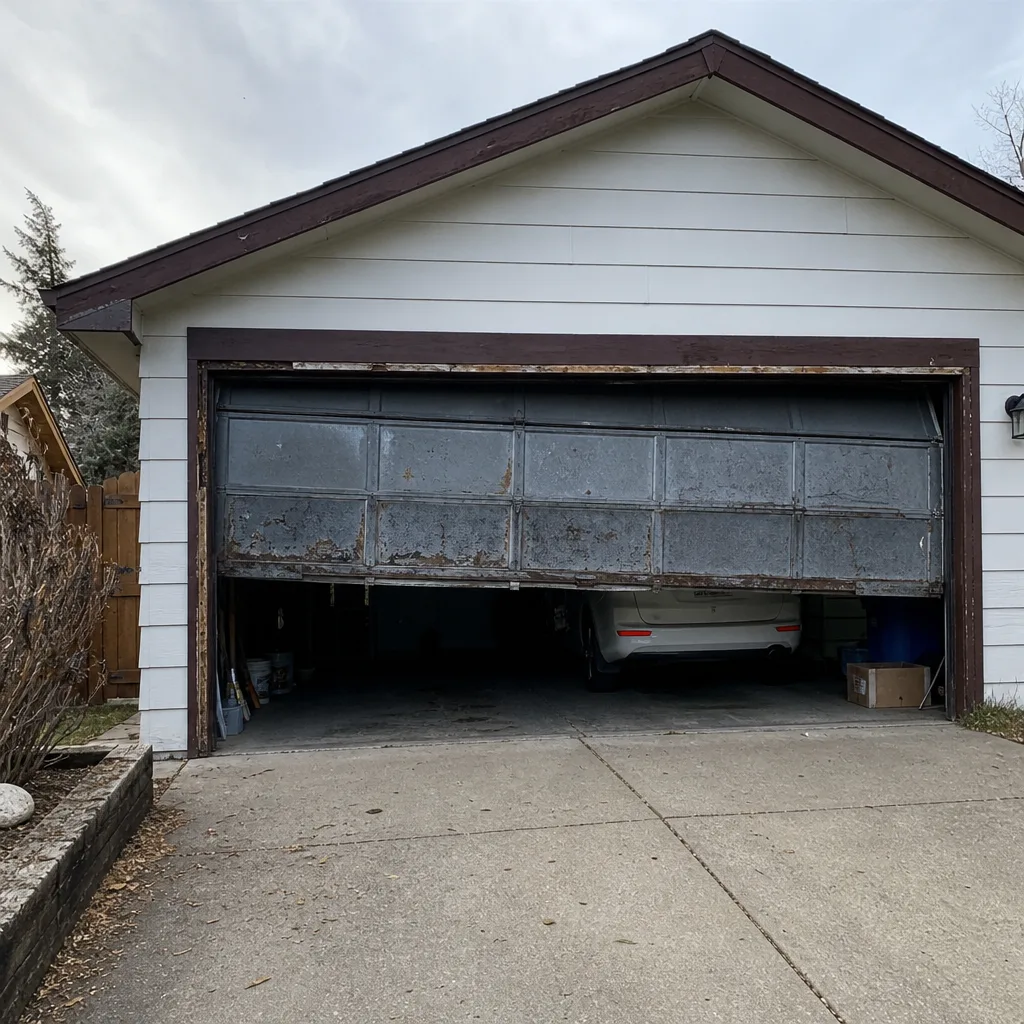 Before
 After
 Before
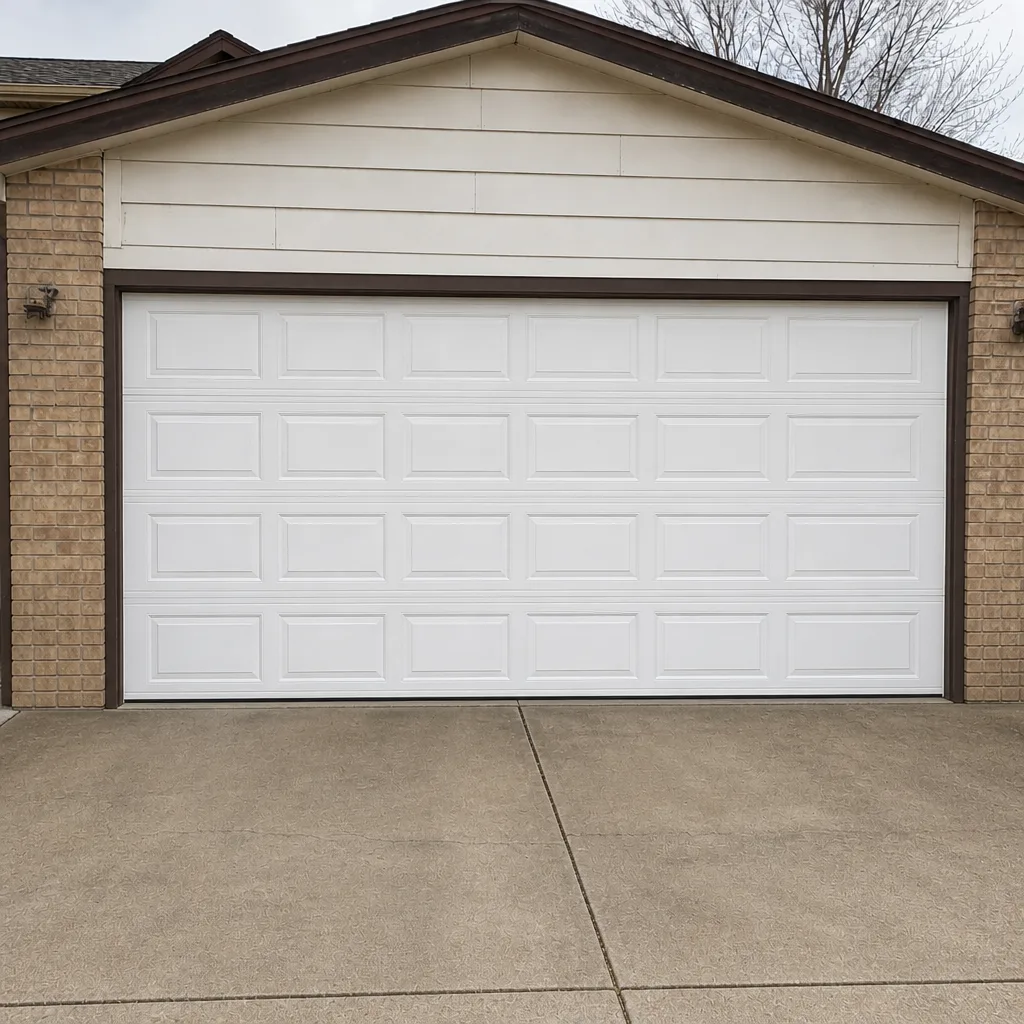 After
When to Call a Professional
Some of this checklist is safe DIY work: weatherstrip, lubricant, sensor testing. But some of it is not, and recognizing the line is what keeps your door safe. Call a professional when the door feels heavy when you lift it by hand, when you can see a gap in a torsion spring, when a cable is frayed or slack, when the door is off its tracks or the track is visibly out of plumb, or when the opener reverses at random or won’t reverse on an obstruction. Also call if you see cracked concrete around the track anchors, or if the door has racked so one side leads the other. Our technicians have up to 9 years of experience, and we work on all major brands – Genie, Clopay, Amarr, Wayne Dalton, and others. Centennial Garage Door Repair Pros offers free estimates in Centennial – call (877) 542-4141. The written estimate is quoted and agreed before any work starts, so you’ll know the price before a wrench comes out.
Frequently Asked Questions
At least twice a year – once in September before the first freeze and once in the spring after the thaw – plus a monthly test of the opener’s auto-reverse. The fall service is the more important of the two in Centennial because it catches weatherstrip and lubrication issues before the cold. If the door gets heavy use or you notice any new noise, check it more often. Call (877) 542-4141 if you’d rather have a technician run the full inspection.
No. Torsion and extension springs are under extreme tension and can cause serious injury if handled without training and the right tools. A homeowner can safely test spring function by lifting the door by hand and observing whether it holds position, but should never wind, adjust, or remove a spring. If your door feels heavy or drops on its own, call a technician; spring replacement is a job for a trained professional, and we handle it as a standard service.
A silicone-based spray or a white lithium grease explicitly rated for sub-zero temperatures. Standard white lithium thickens below about 10°F and stops protecting the parts. Apply it to hinges, rollers, the torsion spring tube, and bearing plates, but not to the track surface. Reapply in September and again in spring. If you’re unsure what to use, a technician can recommend a specific product during a routine visit – call (877) 542-4141 for a free estimate.
Usually one of three things: lubrication that’s thickened in the cold, a bottom seal that’s frozen to the slab, or a spring that’s weakened and struggles at low temperatures. Cold makes both rubber and grease stiffer, so the seal and the lubricant are the first suspects. If the door feels heavy even after checking both, the springs likely need professional attention. We can diagnose it in a single visit, and estimates are free – call (877) 542-4141.
Place a 2×4 flat on the floor under the door and close it with the remote. A working safety reverse makes the door stop and go back up when it contacts the wood. Also wave a broom handle in front of the photo-eye sensors at the base of the tracks; the door should reverse. On LiftMaster and Chamberlain units, both sensor lights should be solid green. Test this monthly, because a door that fails the test is a hazard until it’s fixed.
Replacing the bottom weatherstrip is a reasonable DIY job for most homeowners – it’s a slide-on or nail-on part, and the work takes under an hour with a helper. The key is choosing a cold-flexible rubber or vinyl seal. If the door has multiple seals to replace, or if the tracks and hardware need adjusting at the same time, a technician can handle it in one visit. Call (877) 542-4141 if you’d like a free estimate on the whole job.
The Bottom Line
A good maintenance checklist for Centennial isn’t a generic ten-point list. It’s a short set of tasks timed to a short fall window, focused on the parts that actually fail here: the bottom seal, the springs (test, never touch), cold-rated lubricant, tracks that shift with the soil, and the opener’s safety reverse. Run the September checklist, keep up the monthly safety tests, and call a technician the moment something is heavy, noisy, or visibly broken. That routine is what keeps a Centennial door quiet, safe, and out of emergency territory when the first freeze hits. If you’d rather have a trained eye on it, we’re a call away.
When you’re ready to have a professional check your door, replace a failing spring, or install something new, Centennial Garage Door Repair Pros is one call for the whole job. Call (877) 542-4141 for a free estimate. We quote the price and agree on it with you before any work starts, so there are no surprises on the invoice. Whether it’s a routine tune-up, a spring repair, opener service, or a full replacement, we work on your door and get it fixed right.
Written by the team at Centennial Garage Door Repair Pros.