Last updated November 22, 2026
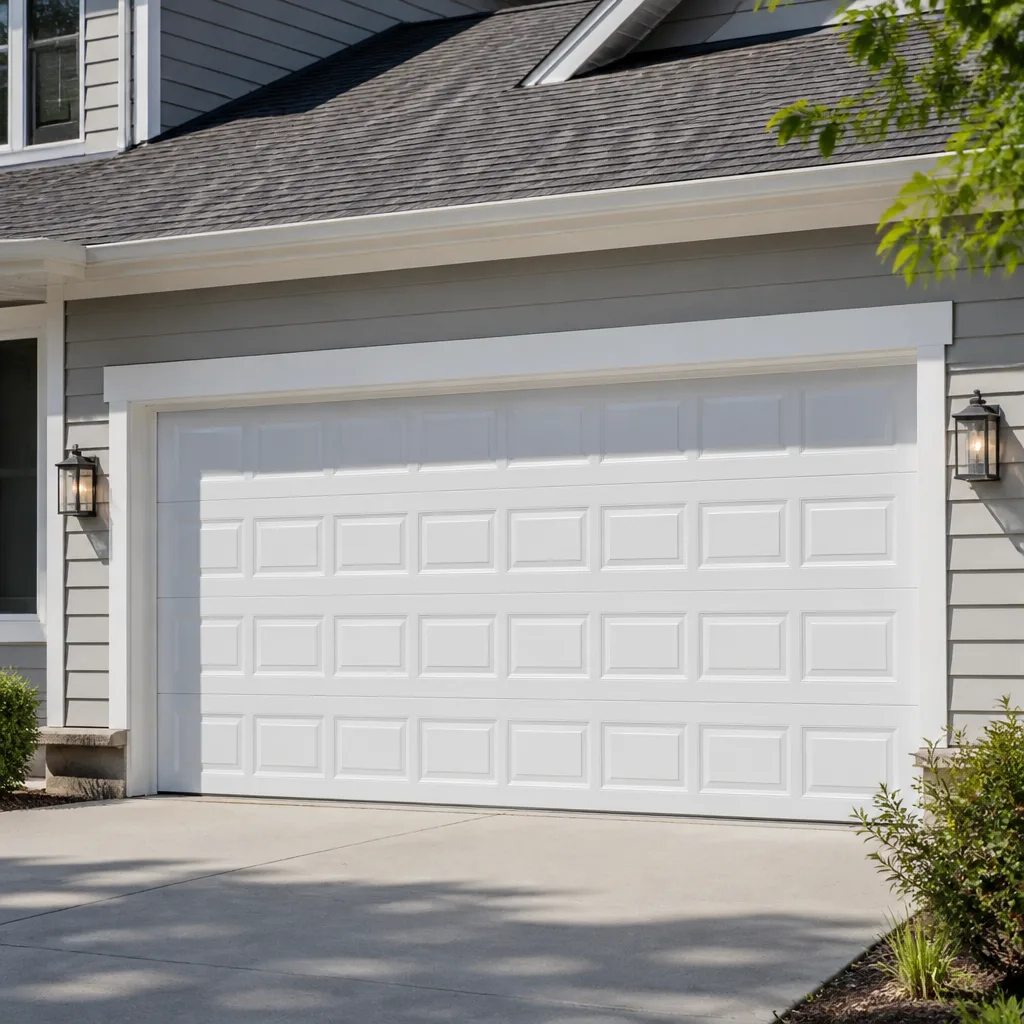 Raised-panel steel
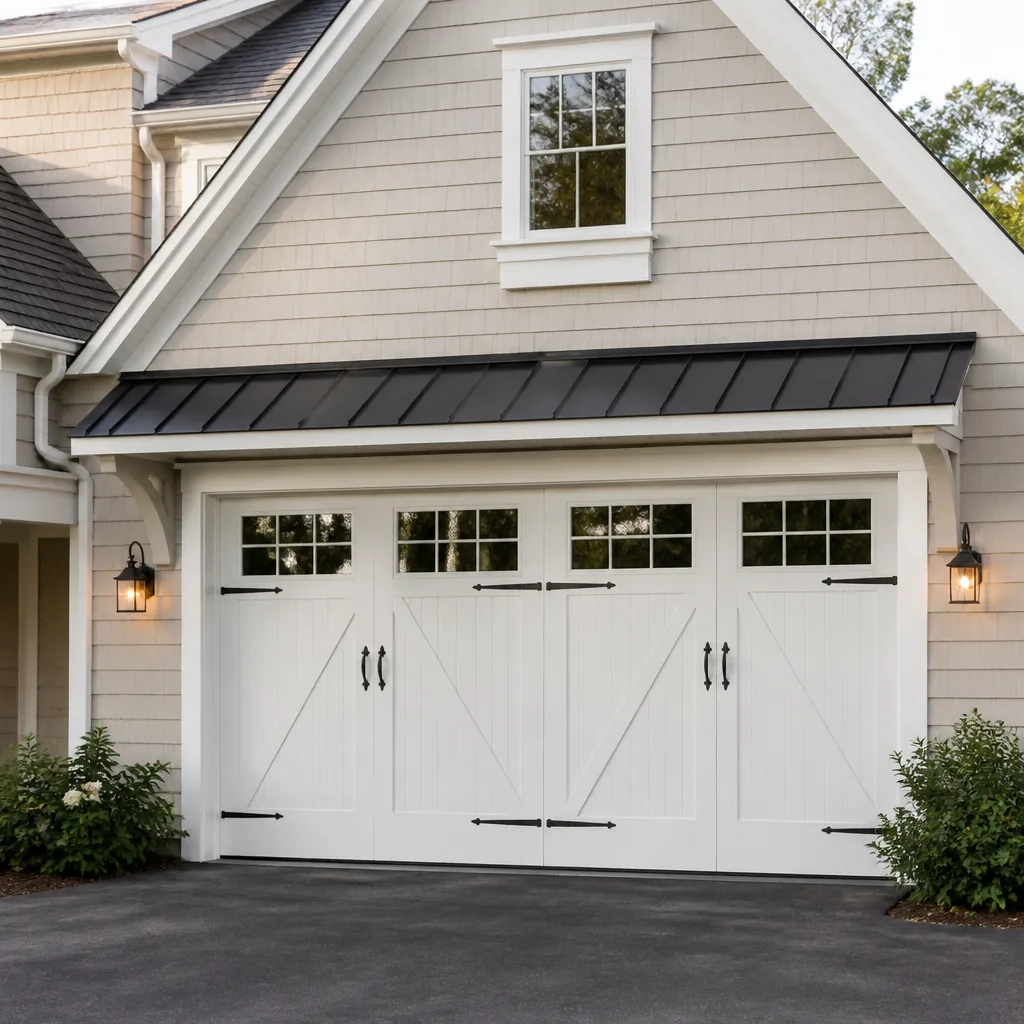 Carriage house
 Modern flush
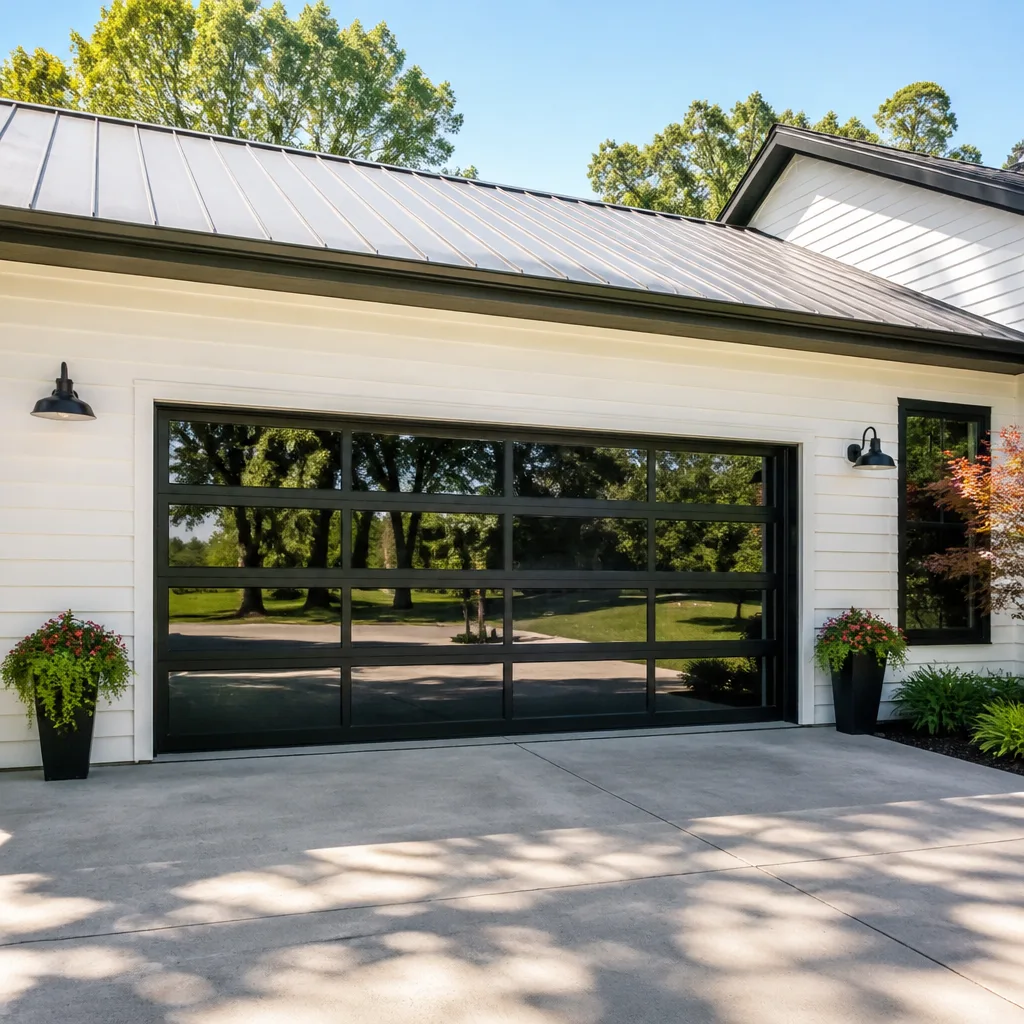 Full-view glass
 LiftMaster openers
 Chamberlain openers
Full 25-point door and opener safety check with every visit - springs, cables, rollers, tracks, and your LiftMaster or Chamberlain opener included
You get a price before we start. It does not change when the pro arrives.
Get your free estimateDIY vs Professional Garage Door: The Centennial Homeowner’s Decision Guide
Torsion springs store enough energy to cause a fatality when released improperly. That’s not a scare tactic – it’s physics, and it’s why the DIY versus professional decision for garage doors has a hard line through it that skill level doesn’t move. A careful, capable homeowner can safely handle more of the garage door than they think. That same homeowner should never touch a wound spring. This guide draws the line task by task, with the mechanical reason behind each call, plus the liability, warranty and inspection angles that change the math on doing it yourself in Centennial.
Quick Answer
Lubrication, sensor alignment, remote programming, track wiping and visual inspections are safe, sensible DIY work. Spring winding, cable replacement and bottom bracket work are not DIY under any circumstances: the stored energy in a torsion spring can kill, and no amount of caution substitutes for the right tools and training. For everything in that second category, call a trained garage door professional. In Centennial, we handle both sides of that line and will tell you honestly which one your issue falls on.
Styles & brands we work with
- Raised-panel steel
- Carriage house
- Modern flush
- Full-view glass
- LiftMaster openers
- Chamberlain openers
Table of Contents
- The Real Line: Skill vs. Consequence
- What You Can Safely Do Yourself
- What You Must Never DIY
- What Colorado Liability Looks Like After a Failed DIY Repair
- The Hidden Cost of DIY Opener Installation
- Tools: What Legitimate DIY Requires vs. What Spring Work Requires
- Using Warranty Terms to Decide
- Centennial Climate, Housing and How Doors Wear Here
The Real Line: Skill vs. Consequence
Most DIY debates are framed around confidence. “Am I handy enough?” That’s the wrong question for a garage door. The right question is: if this goes wrong, what happens? Some garage door tasks fail small. A misaligned sensor keeps the door from closing and you try again. Others fail catastrophically, in a fraction of a second, with consequences that no amount of skill or YouTube watching reduces.
We think about garage door work in three tiers.
- Tier one – safe DIY. Task fails small, at low energy, with time to react. Lubrication, sensor alignment, remote programming, visual inspection, wiping tracks. Any careful homeowner can do these.
- Tier two – possible DIY with real risk. Task fails at height or with moderate energy. Roller replacement on an intact door, panel wiping, light adjustment of the opener’s force settings. Some homeowners manage these; most shouldn’t. The dollar savings rarely cover the risk.
- Tier three – never DIY. The task stores or releases enough energy to injure or kill. Torsion spring winding, cable replacement, cable drum work, bottom bracket removal. The door will not warn you before it fails.
This guide exists because homeowners in Centennial keep asking us where the line sits. The honest answer: the line is mechanical, not personal. A retired engineer and a first-time homeowner face the same physics when that spring lets go. If you want the full repair picture for a door that’s already failing, our garage door repair page covers the specific failure types we see most. This page stays focused on the decision itself.
What You Can Safely Do Yourself
You can safely handle routine garage door maintenance and minor adjustments. Lubrication, sensor checks, remote programming, track wiping and photo-eye alignment are all low-energy tasks where a mistake causes an inconvenience, not an injury. Skip them for months and the door will start misbehaving; do them regularly and it runs noticeably smoother. Here’s the full DIY-safe list and how each one works.
Lubrication. Once or twice a year (more if the door faces a lot of dust), apply a garage-door-rated lubricant to the hinges, rollers, torsion bar bearings and the opener’s rail. Never use grease on the tracks – it attracts grit and turns into an abrasive paste. Wipe with a dry cloth instead.
Sensor alignment. The two photo-eye sensors sit about six inches off the floor at the bottom of the tracks, one on each side. If the door closes halfway and reverses, look at the sensor LEDs first. A blinking light means one sensor isn’t seeing the other. Gently bump each back into alignment and clean the lens with a dry cloth. That solves most of them.
Remote and keypad programming. Every LiftMaster, Chamberlain, Genie and Craftsman opener uses a pairing procedure you can look up in the manual. It involves pressing the learn button on the motor head and then a button on the remote within a short window. Nothing stored energy; nothing moves while you do it.
Visual inspection. Once a month, stand back and watch the door cycle. Listen for grinding, squeaking or pops. Look for frayed cables, a sagging bottom section or a gap between the door and the frame. Do this and you’ll catch problems while they’re still cheap.
Track wiping and light debris clearing. Dry cloth on the tracks, clear leaves and toys from the door’s path, check the weather seal for cracks. Simple, safe, effective.
If you’ve done all that and the door still misbehaves, the issue is likely electrical or mechanical – time to stop. The other safe DIY win? Reading your opener’s manual. Half the issues we diagnose in Centennial turn out to be programming quirks or user error, and the manual covers every one of them.
What You Must Never DIY
You must never attempt spring winding, cable replacement, cable drum work or bottom bracket removal yourself. These tasks involve components under constant, enormous tension, and a mistake releases that tension in a fraction of a second. This is the highest-stakes work on any garage door, and no amount of confidence or YouTube research reduces the danger. Here’s the mechanical reason for each call.
Spring winding (torsion or extension). A torsion spring is a tightly wound steel coil that counterbalances the door’s weight. When you wind it, you’re storing the energy that will lift that door for the next several years. If the wrong bar slips or you release too early, that energy discharges through the spring, the bars and anything in its path. The spring itself doesn’t know you’re standing there. Extension springs, on the other side, carry the same risk in a different geometry – they stretch, and their failure path is a straight line through the garage. This is why spring repair is the repair we treat most seriously, and why our technicians’ training focuses on it more than any other job.
Cable replacement. Cables are the straps that connect the door’s weight to the spring system. They’re under tension every second the door has weight on it. Replace one without releasing that tension correctly and the door drops, or the cable snaps back. Either outcome can break bones. Never worth the risk.
Cable drum work. The drums wind the cable as the door travels. Remove one and the cable releases, the door lurches, and the spring’s energy has nowhere to go but out. The drums interlock with the spring system in ways that are easy to misread until you’ve done it hundreds of times.
Bottom bracket removal. The bottom bracket sits at the end of the cable run and holds the door’s bottom section under constant load. Remove it while the door is up and the bracket, cable and door all release at once. This is the task where we most often hear “it looked fine right up until it didn’t.”
If your spring or cable has failed, do not run the opener. Do not pull the manual release. Keep people and vehicles clear and call a professional. We’re honest about this: the spring price you’ll see later in this guide is the price of not touching it yourself.
What Colorado Liability Looks Like After a Failed DIY Repair
A failed DIY garage door repair can expose you to real liability, and that liability attaches to you in ways most homeowners don’t anticipate. If a DIY spring repair injures a family member, that person’s medical costs may fall on your homeowner’s policy, and your policy may deny the claim if the work was done outside a licensed trade’s scope. And that’s before the inspection angle.
Two specific mechanisms matter for Centennial homeowners.
- Homeowner’s insurance and DIY work. Most homeowner policies require “reasonable care” and may deny claims arising from substantial unauthorized work. Replacing an opener without electrical sign-off or grounding work yourself is exactly the kind of claim those clauses are written to catch.
- Home sale inspection. Garage door failures are one of the items inspectors flag and buyers ask to be corrected before closing. A door that was DIY-repaired and now shows stress cracks, misaligned panels or an opener with no permit history becomes a negotiated credit, often larger than the original repair would have cost.
That second mechanism is the quiet one. A Centennial homeowner who DIYs a spring to save money, then sells two years later, often discovers the repair wasn’t done to a standard an inspector will accept. The cost to make it right turns up in the closing negotiation, and the buyer has the leverage.
We don’t say this to scare anyone. We say it because we’ve walked into enough Centennial garages where the owner’s story ended with “I did it myself and now I’m not sure it’s safe” – and the honest answer is usually that we need to redo the work properly, which costs more than doing it once. Homeownership is full of tasks worth taking on. Garage door springs are not among them.
The Hidden Cost of DIY Opener Installation
The hidden cost of DIY opener installation is the electrical work. Mounting a new opener and pairing its remotes is manageable for a careful homeowner. Running a circuit, installing an outlet where the opener needs one, or replacing an aging 1970s-era garage outlet requires an electrician under most local codes, and that requirement is where DIY budgets quietly blow up. This is the part most DIY opener videos skip.
Walk through what actually happens when you replace an opener.
- Old opener removal. Disconnect power, remove the rail and motor head, lift the door by hand to check that the springs still carry it. If the door won’t stay up on its own, the spring balance is off and you have a bigger problem than the opener.
- New mounting. Hang the new motor head per the manual’s ceiling bracket spec, set the rail height, and re-tension the door’s connection. This part is careful work but rarely dangerous.
- Electrical. If the existing outlet is wired correctly, grounded and placed where the opener needs it, this step is simple. If it isn’t – and in older Centennial homes it often isn’t – an electrician has to run the circuit. That’s a licensed-trade scope in most jurisdictions.
- Safety reversal testing. Every opener installation has to be tested: the door must reverse on a physical obstruction and the photo-eye must break the beam correctly. Adjusting the force limits too high to “make it work” is a common shortcut, and it’s the shortcut that hurts someone later.
- Warranty registration. A manufacturer’s warranty on a LiftMaster or Chamberlain opener usually requires installation per the manual by someone competent to do it. Read the fine print before you start.
We install openers from LiftMaster, Chamberlain, Genie and Craftsman routinely, and the electrical step is where DIY installations most often go sideways. If you’re weighing the full replacement, our garage door opener repair page covers what’s fixable versus what’s a full replacement – useful before you buy a new unit you might not need. If your opener is fine but the door itself is the problem, our garage door installation page walks through the door replacement process from measure to final adjustment.
Tools: What Legitimate DIY Requires vs. What Spring Work Requires
Legitimate DIY garage door maintenance requires tools nearly every homeowner already owns. Spring work requires specialized equipment that costs more than the repair and still carries risk no tool removes. Here’s the honest comparison.
Tools for DIY-safe tasks:
- A garage-door-rated lubricant (silicone or lithium, not grease)
- A dry cloth and a soft brush
- A screwdriver set (Phillips and flathead) for hinge and bracket touch-ups
- A step ladder for the opener learn button and sensor checks
- A socket set for tightening the occasional bolt
Tools for professional spring work:
- Winding bars, sized to the spring’s inner diameter – the wrong size slips
- Two pairs of bars, because one pair isn’t safe on a heavy door
- Cable drums and a cable-pulling tool
- A tension gauge for verifying the door’s lift before and after
- Spring sizing tools and a matched replacement spring – the gauge, inside diameter and length all have to match the door’s weight
Winding bars alone run $40 – $80 for a usable pair, and that’s the cheapest item. The real barrier isn’t cost, though. It’s that the wrong tool, the wrong spring size, or a slip mid-wind can turn a $250 repair into a hospital visit. Our technicians have up to 9 years of experience, and even they don’t wind a torsion spring without a second set of bars on hand. That’s the level of respect the job demands.
There’s a third tool category that doesn’t get talked about enough: knowledge of the specific brand. Amarr and Wayne Dalton doors have distinct hinge and panel geometries. Raynor and Craftsman openers have different learn-button sequences and force sensors. A generic DIY video teaches you “a garage door”; brand-specific manuals teach you yours. If you can’t find the manual for your exact model, that’s a sign to stop and call.
Using Warranty Terms to Decide
Most garage door and opener warranties void immediately on DIY spring or opener work, which changes the math on “saving money” long before you pick up a tool. The warranty is often worth more than the repair. Read both the door and the opener warranty before you decide – they’re usually two separate documents with two separate rules.
What to look for in the fine print:
- Spring coverage. Most door manufacturers cover springs for a defined period and require professional installation to honor the claim. Winding one yourself voids the claim even if the new spring fails a year later.
- Opener labor coverage. LiftMaster and Chamberlain warranties typically separate parts from labor. Doing it yourself usually keeps the parts coverage and quietly drops the labor side.
- “Installation by a competent professional” language. This phrase appears in almost every warranty and is the manufacturer’s way of saying “not you, at 9pm, with a YouTube video.” It’s also the sentence that decides whether a claim gets paid.
- Cosmetic and structural clauses. If a DIY repair bends a track or misaligns a panel, the structural warranty may not apply even if the panel failure wasn’t your fault. Inspectors check this at resale.
We work with lift systems from Amarr, Wayne Dalton, Raynor and Craftsman regularly, and the pattern is consistent: a homeowner who DIYs a spring to save $200 often ends up paying for a new spring plus the door adjustment plus the cosmetic repair that came from the misalignment. The math rarely favors the DIY path once warranty loss enters the picture. If you’re pricing out the two paths side by side, ask yourself: what does the repair cost if it fails, and what does it cost if it voids the warranty and then has to be redone by a pro? That second number is the one that matters.
Centennial Climate, Housing and How Doors Wear Here
Centennial’s climate puts garage doors through more than most homeowners assume. The Front Range swings between dry, cold winters and hot, dry summers, and that temperature contraction and expansion cycles the metal of the door, the stiffness of the spring and the fit of the seals twice a year. Doors here tend to develop their first spring fatigue faster than doors in milder climates, and the humidity swings crack weather seals ahead of schedule. That’s not a sales pitch – it’s the reality of living at altitude.
A few Centennial-specific observations that change the DIY decision:
- Springs wear faster. The temperature cycling puts more cycles on the spring. If you’re hearing a door that “pops” as it opens or the opener has to work harder than it used to, the spring balance is off and it’s time to have a professional look before failure.
- Wind events stress hardware. The Front Range gets its share of high-wind days. A door left partly open during one of those takes a hit to its hinges, rollers and bottom brackets. Inspect after a wind event, and don’t attempt a bracket repair yourself.
- Dust and grit in the tracks. Our dry climate means tracks collect fine grit that turns to paste when mixed with solvent-based lubricants. Use garage-door-rated silicone or lithium and wipe the tracks down rather than greasing them.
- Older housing stock means older electrical. Many Centennial homes have garage outlets that predate modern grounding standards. An opener replacement often surfaces this, and that’s the moment to have an electrician review the circuit rather than wire it yourself.
- Altitude and opener force settings. Some openers need their force limit adjusted in our climate to compensate for the seasonal change in door weight. This is a professional adjustment, not a DIY fix – wrong settings strain the opener and its warranty.
There’s also the code side. Most municipalities in the area require a permit for garage electrical work, and permit rules vary. If your project touches the electrical circuit or the structural header above the door, call your city’s building department before you start and ask what’s required. We can’t speak for Centennial’s specific permit office, but we can tell you that unpermitted electrical work is one of the items a home inspector notes, and that note costs you at resale.
None of this changes the core line in the guide. It does, though, explain why Centennial garage doors need more attention than the “every six months” advice you’ll find in generic articles. The climate is harder on the equipment, so the decisions about who touches it matter more.
Common Mistakes to Avoid
- Winding a torsion spring without the correct bar size. The bars are matched to the spring’s inner diameter. A general-purpose bar slips, and the spring releases through anything in its path. Always have a professional do the winding.
- Running the opener after a spring failure. The opener will lift the door a few inches, jam, and strain the motor and gear. Some openers burn out their logic board trying. Stop and call.
- Pulling the manual release on a broken-spring door. That release lets the door’s full weight drop without anything to slow it. Don’t touch it if the spring is compromised.
- Using grease on the tracks in a dry climate. The grit in Centennial’s air mixes with grease and becomes an abrasive. Wipe the tracks, don’t grease them.
- Adjusting opener force settings to fix a door that’s hard to lift. That’s a symptom of a spring losing tension. Raising the force cooks the opener and hides the real problem for a few more weeks.
- Skipping the permit on opener electrical work. Unpermitted work will show up at inspection. A quick call to the city’s building department before you start saves the negotiation later.
- Assuming a brand-agnostic DIY video applies to your door. Amarr, Wayne Dalton, Raynor and Craftsman systems differ in ways that matter. Use your specific model’s manual or call a specialist who knows the brand.
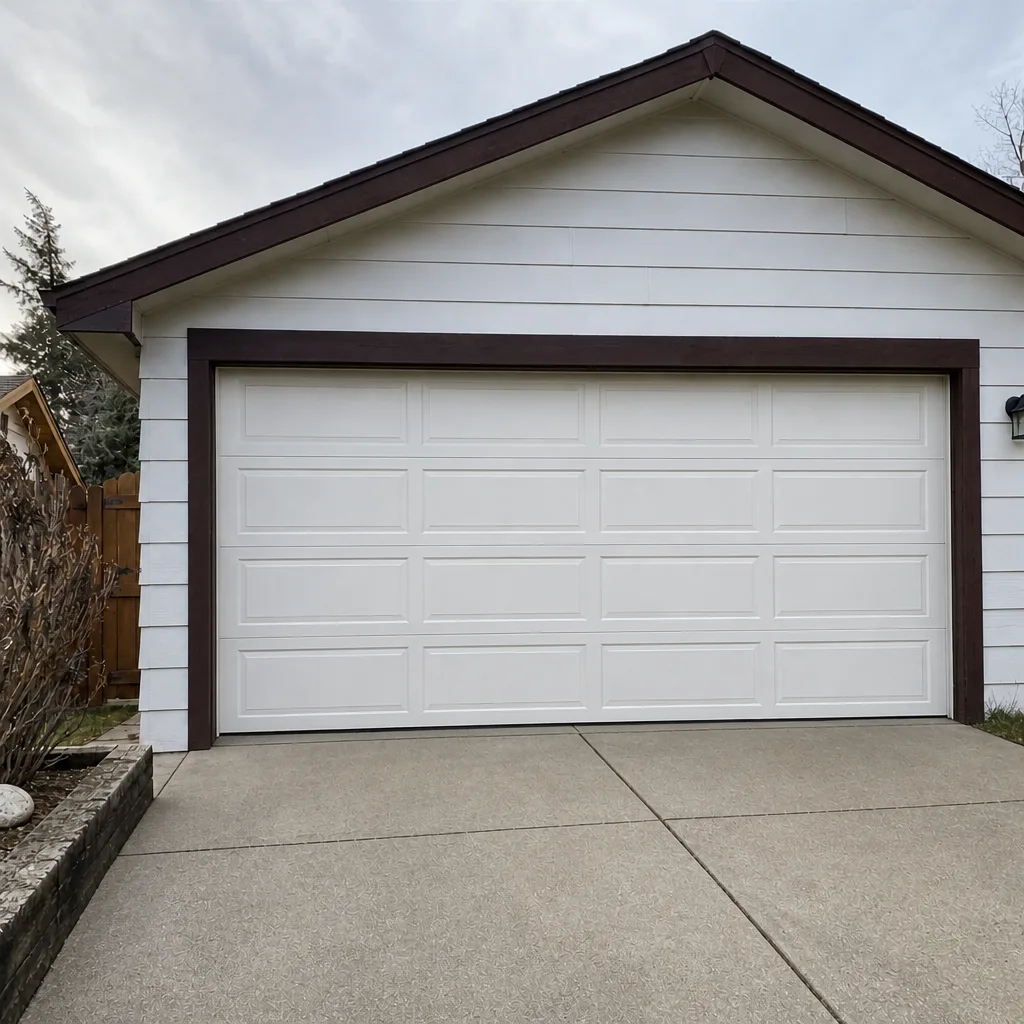
See the difference
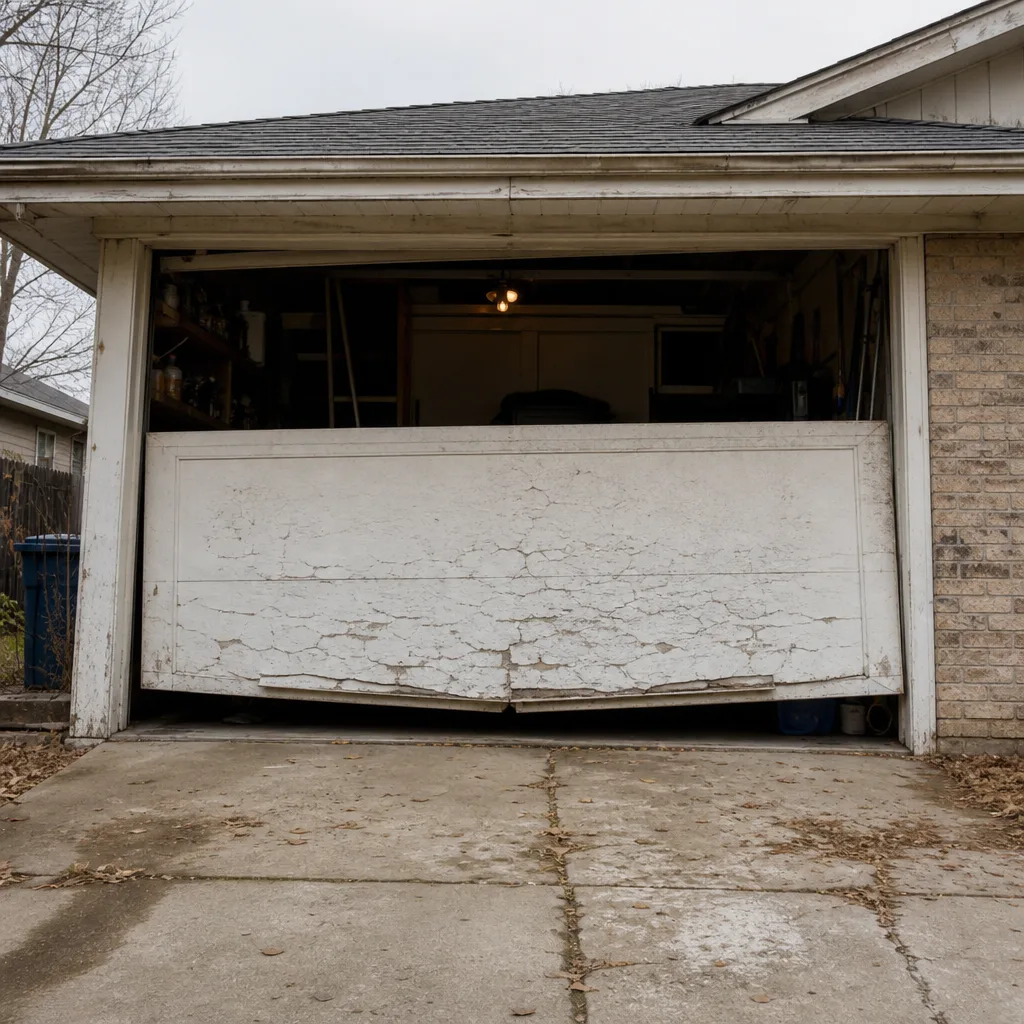 Before
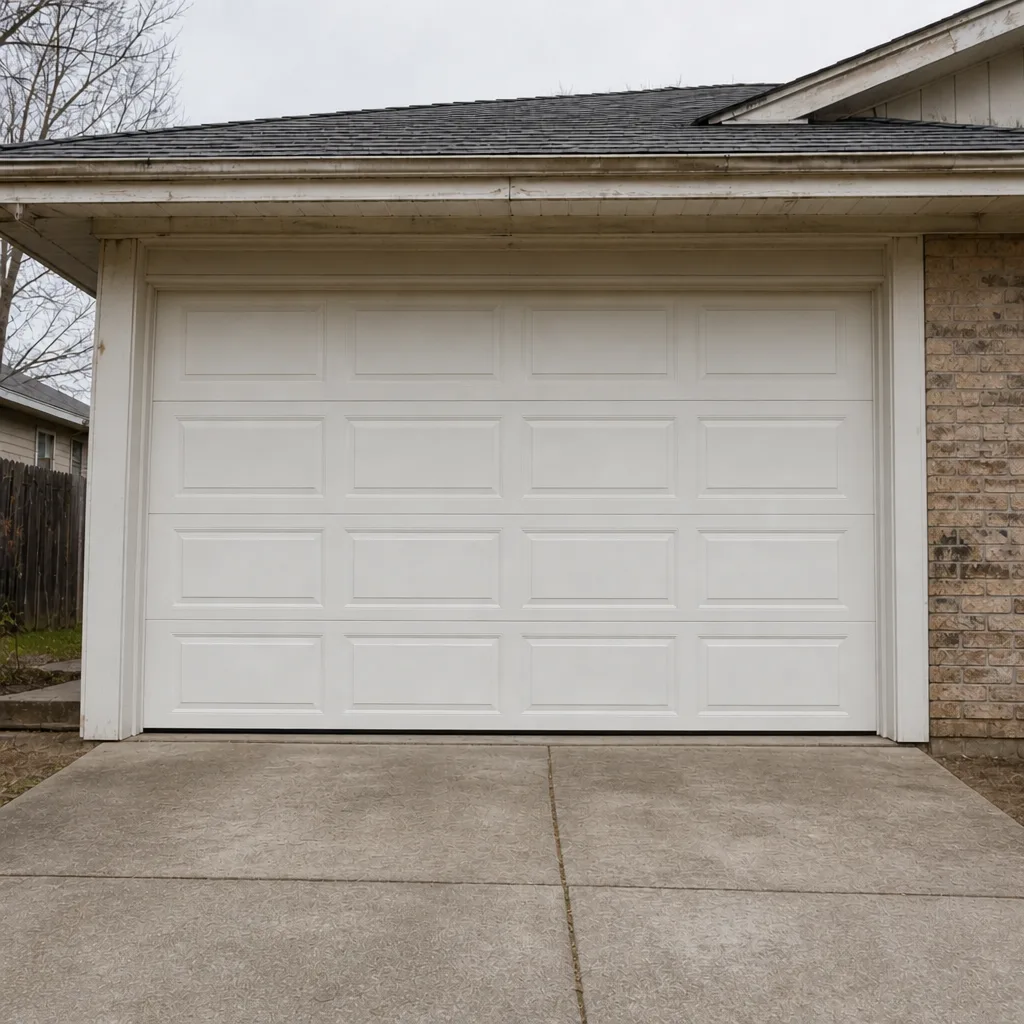 After
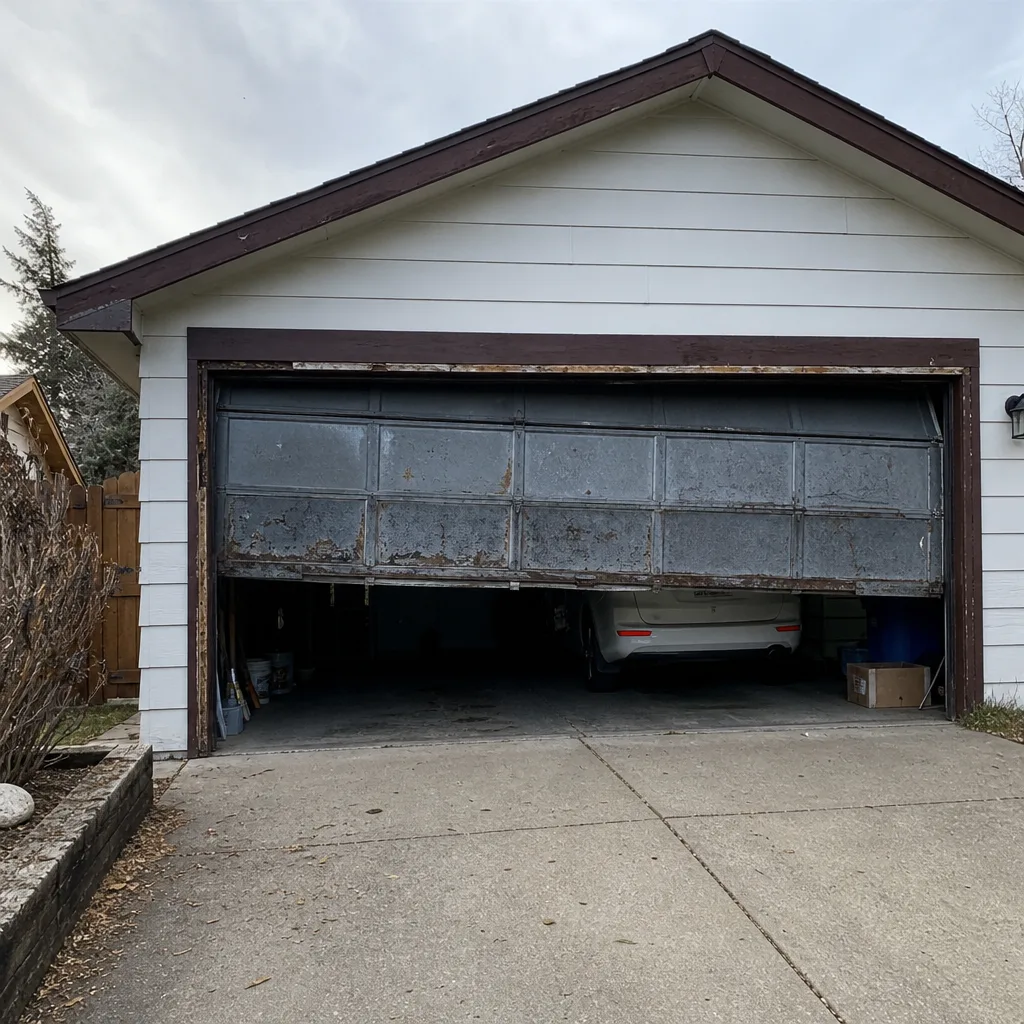 Before
 After
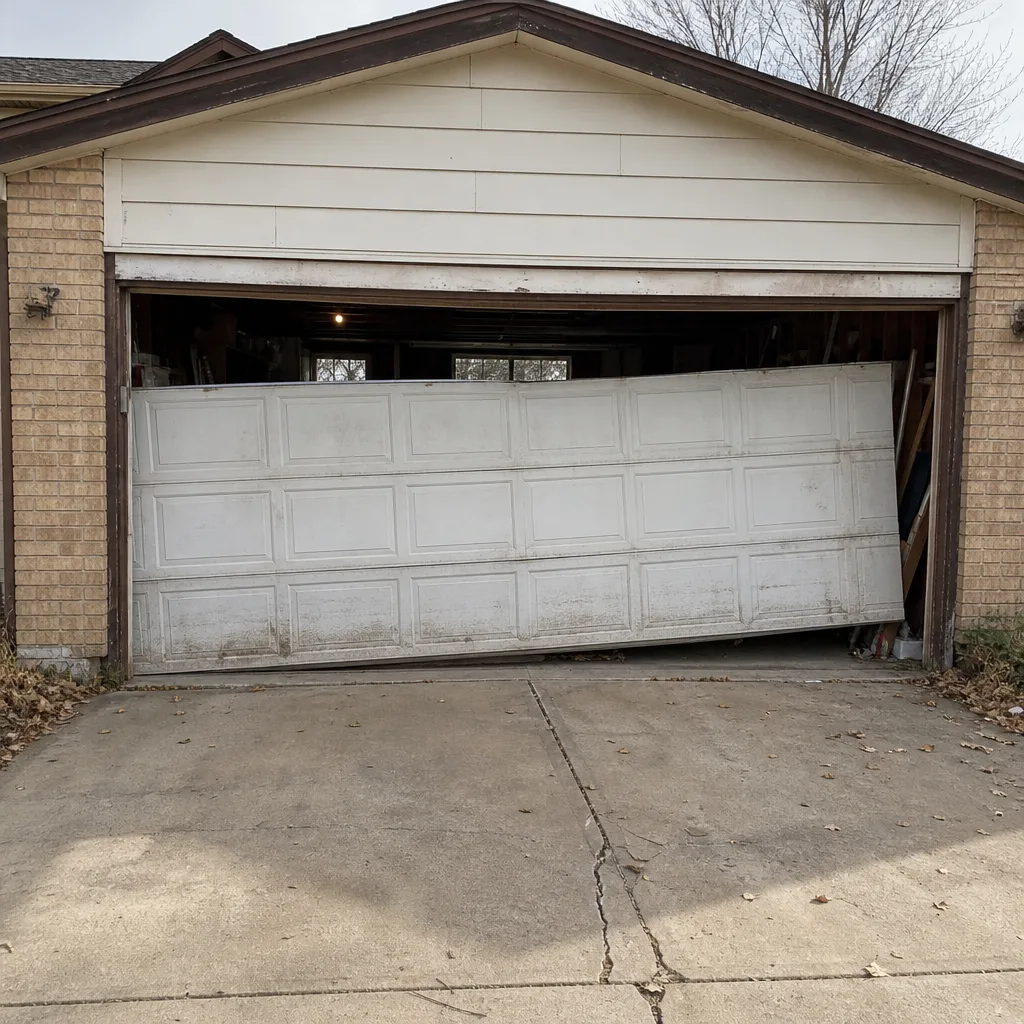 Before
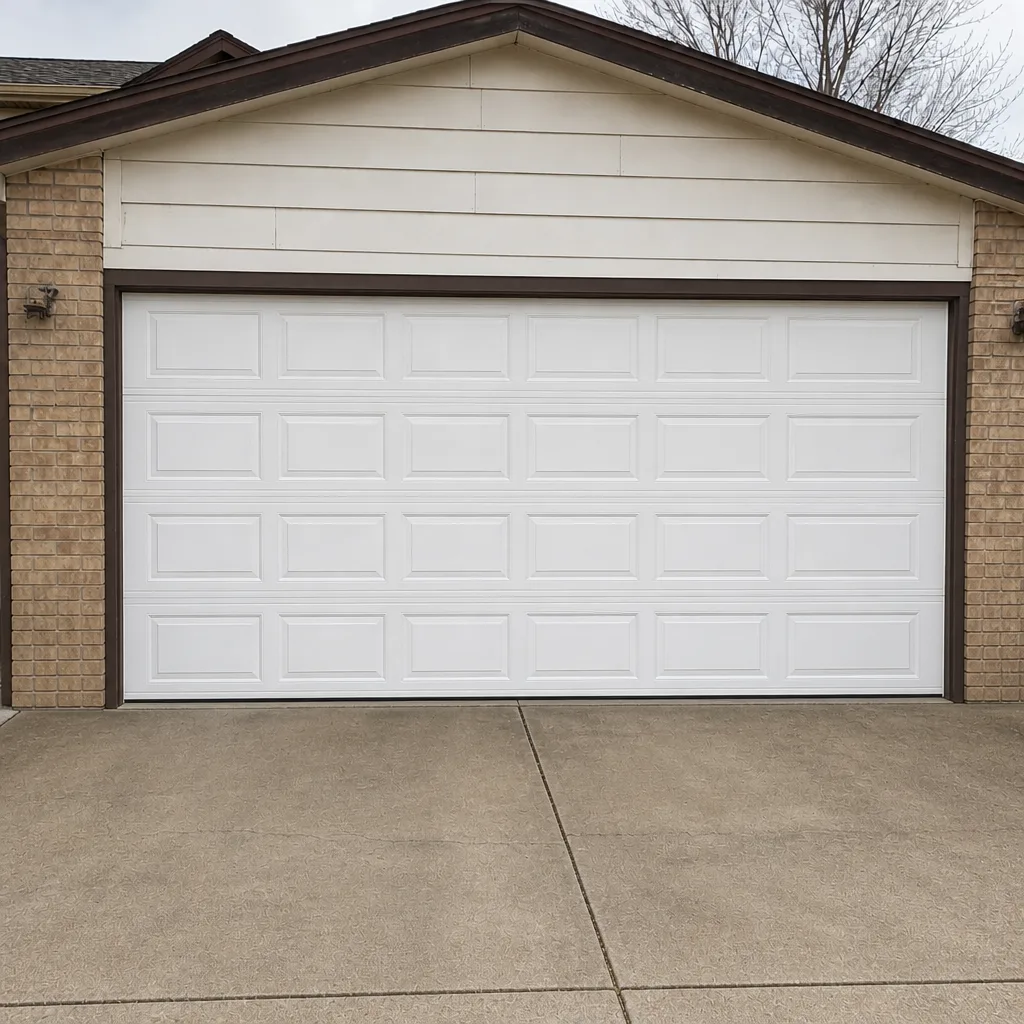 After
When to Call a Professional
Call a professional the moment your spring is compromised, your cable is frayed, your bottom bracket is loose, or your opener won’t reverse on a test. Also call if the door has dropped, come off its track, or refuses to close at night and you can’t leave it. Those are situations where the tool on the wrong side of the line decides the outcome. A careful homeowner’s best asset is knowing when to stop.
Centennial Garage Door Repair Pros offers free estimates in Centennial – call (877) 542-4141. We’ll tell you honestly if your task is a DIY fix, and if it’s spring or cable work we’ll quote and agree the price before any work starts. There are no surprises after the fact. Our technicians have up to 9 years of experience, and every one of them knows the difference between a fix we can talk you through and one you should never attempt.
Frequently Asked Questions
No – you should never replace your own garage door spring. Torsion and extension springs store enough energy to cause fatal injury when released improperly, and the tools for safe winding are specialized. Call a professional. In Centennial, we handle this repair regularly and can quote a price before any work begins. Call (877) 542-4141 for a free estimate.
Spring repair in Centennial typically runs $180 – $340 per spring, depending on the type and size. A matched pair is usually replaced together, so a pair costs roughly twice that. The written estimate sets the final price, and we agree it before any work starts. Call (877) 542-4141 for a free estimate.
Lubrication, photo-eye sensor alignment, remote and keypad programming, track wiping, weather-seal inspection and visual door cycling checks are all safe DIY tasks. Any task that touches a spring, cable, cable drum or bottom bracket requires a trained professional. If you’re unsure which category your task falls into, ask before you start – a free estimate is worth the call.
Often yes. Most garage door and opener warranties require professional installation and void spring and opener coverage on DIY work. Read your door and opener warranties before you start. A quick call to a specialist who works your brand will tell you what your warranty actually covers. Call (877) 542-4141 for a free estimate.
It can, yes – if the installation needs a new circuit or an outlet where one doesn’t already exist. Mounting and programming the opener is manageable; the electrical work is usually a licensed-trade scope. Ask your city’s building department what the permit rules require before starting. A specialist can tell you what the job needs before you buy the unit.
Ask one question: if this task goes wrong, does it fail small or large? Misaligned sensor, stuck remote, noisy hinge – small fail, safe DIY. Wound spring, stretched cable, loose bracket – large fail, professional only. When in doubt, call. In Centennial, our team will give you an honest answer at (877) 542-4141, and the estimate is free.
The Bottom Line
The DIY versus professional question for a garage door is a task-by-task decision, not a personality test. Lubrication, sensor alignment and remote programming are yours for the taking. Spring winding, cable work, cable drums and bottom brackets are not, because the physics doesn’t care how careful you are. Add the Colorado liability angle, the warranty void clauses hiding in your opener’s fine print and the home inspection consequences at resale, and the math almost always favors the professional call for anything past routine maintenance. This guide is our full take as a garage-door-only team in Centennial. If you’re still weighing it, call and we’ll tell you which side of the line your job sits on.
Call Centennial Garage Door Repair Pros at (877) 542-4141 for a free estimate. We work on LiftMaster, Chamberlain, Genie, Clopay, Amarr, Wayne Dalton, Craftsman and Raynor equipment, and we’ll quote and agree the price before any work starts. One call covers the repair – or tells you it’s not a repair you need.
Written by the team at Centennial Garage Door Repair Pros.